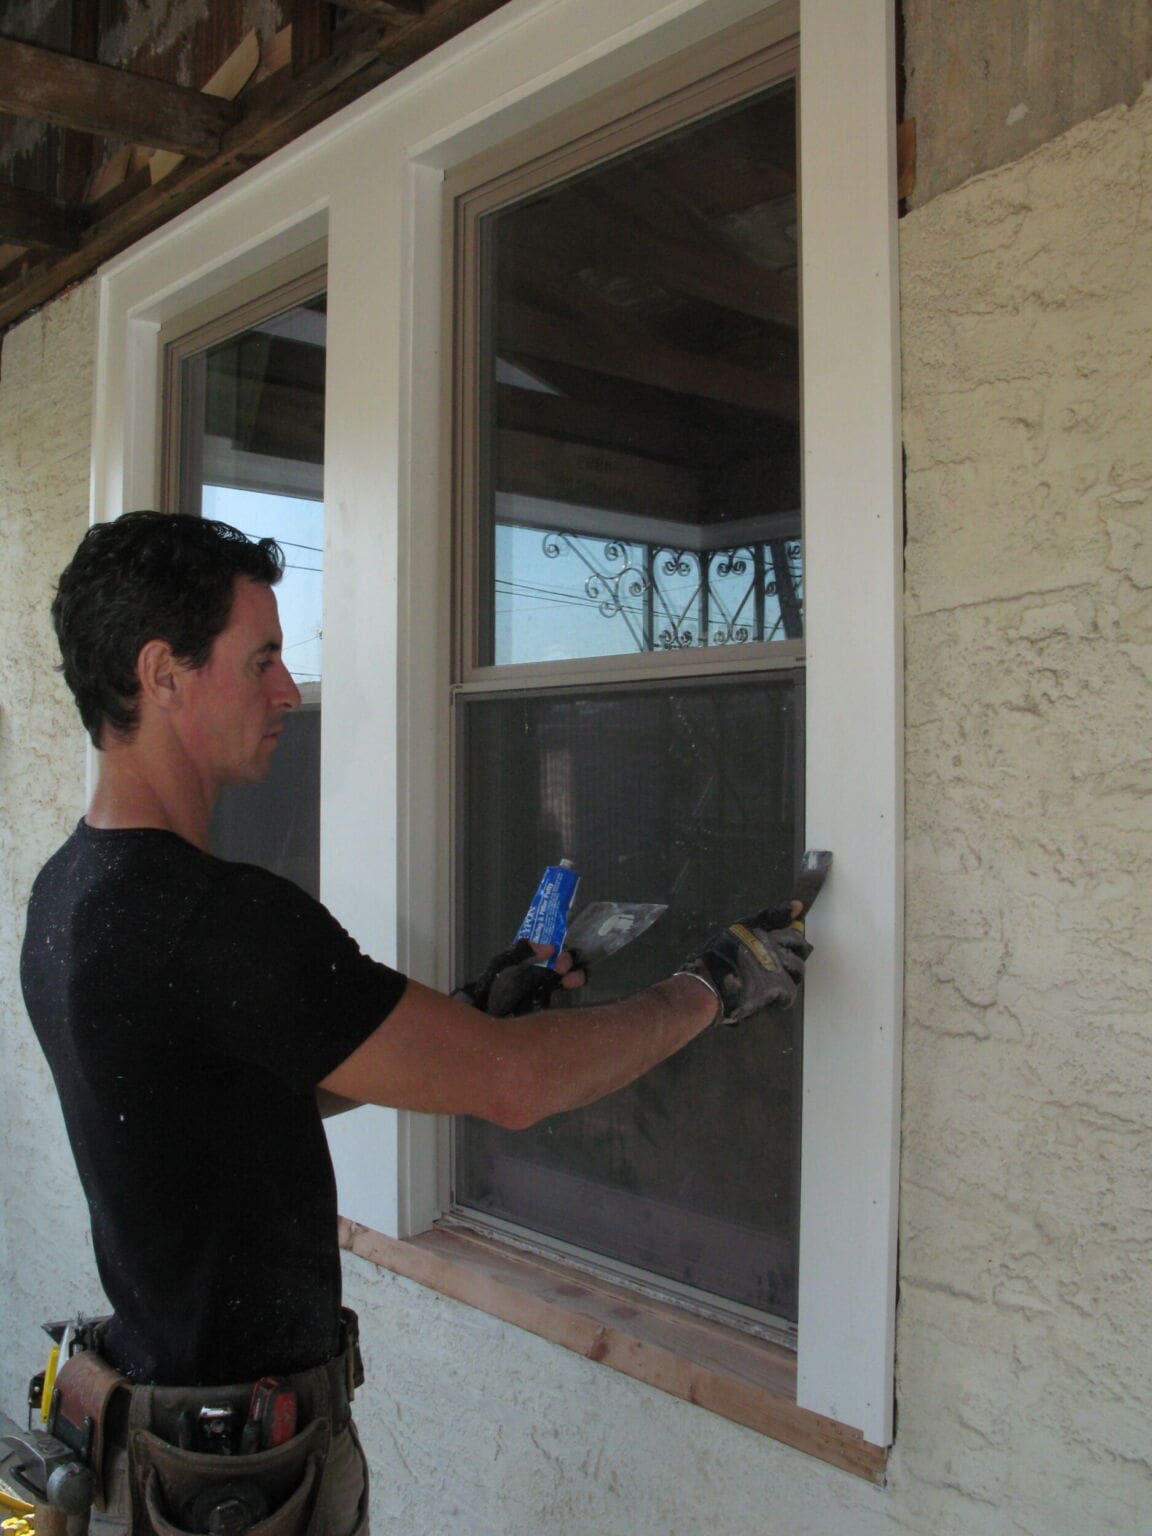
If the unkempt garden next door is putting off buyers, rather than suffer in silence, why not simply offer to clear away any rubbish yourself. Next time you're mowing your lawn offer to mow theirs as well. Half an hour spent on a few gardening chores at the neighbour's house could make all the difference when the next buyer arrives to front window repair view your home.
First things first the chip should be repaired before it gets filled with grit. To do this, the chip needs to be drilled while the cracks in it get vacuumed. An acrylic or crystalene resin is then inserted via syringe into the chip to restore the air trapped in the crack. Afterwards it is dried with UV light which hardens the substance and reinstates the original state of the glass. Acrylic resin is made up of carcinogenic acid which turns the chips yellow over time. Crystalene resin has better clarity and doesn't change color over time. It's available at ultra-low consistency and high consistency. Extra resin is scraped away and then polished for a finishing touch. This kind of treatment usually runs about $45-$100.
windshield repair Remove all smoke odors pet odors and odors resulting from hobbies. When possible, air out your home before the showing. Lightly spray room freshener so that it has a chance to diffuse before the buyer arrives.
Take my word for it! I am no mechanic so I have written this article not as a definitive DIY servicing article but more as a simple windshield chip repair step guide that you can either use yourself or help your local mechanic to ensure your bus remains on the road for years to come! I have scavenged I lot of the material from the web and rehashed it to suit Class Campers. And I have subsequently referenced at the end of this article all the sites and printed material that I used.
Replacement of any home asset or feature should be a matter of last resort, especially at the end of a renovation or upgrade. However in some cases it can be the difference between a guaranteed sale and thousands in profit.
Step 7 - Remove the finishing film after a 10 minute period and make sure the resin had dried completely. Scrape away any excess resin from the surface.